Wednesday, March 30, 2011

Back in the Shop {Raggedy Ann}

Raggedy Ann

Photobucket

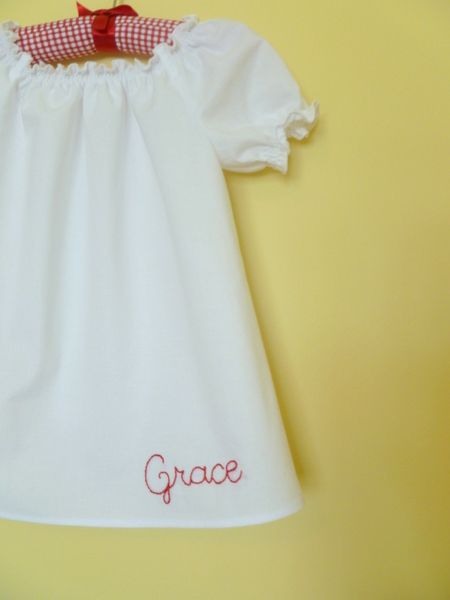
red/pink check fabric is out
see description for the easy substitution
the blouse now comes with a pieced hem just like the jeans

Photobucket

find them all {here}

Saturday, March 19, 2011

Back in the Shop {Sweet Tweet}

Photobucket

Photobucket

Find it all here.

And how adorable is this little hat?
I came across this tonight and just had to share it with you.

Photobucket

Eeek! It comes in adult sizes too. I know!
I think everyone in my family needs one.

Tuesday, March 8, 2011

Gather Up a Skirt or Ruffle {Tutorial}

There are lots of ways you can go about gathering the skirt of a dress to the bodice or a ruffle to anything, so I thought I'd share with you the easiest way we have found to do it. Sandi has a great tutorial here as a starting point, but we've taken it just a step further for you.

When you have a large circumference to gather up it can become unwieldy and difficult to get it spread out evenly all the way around. Here is what Amy and I do:

1. Start by marking (with your water-soluble marking pen) half-way points on your bodice, between the side seams, until you have 8 marks all the way around.

Align CenterPhotobucket

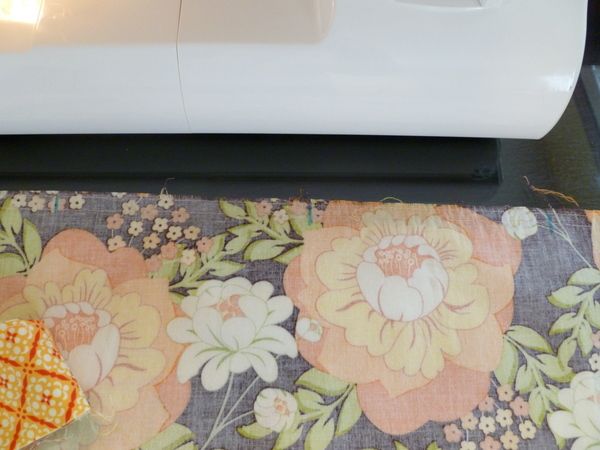
2. Do the same with the top edge of the skirt. I used to do this with large pins, but inevitably they would fall out in the process.

Photobucket

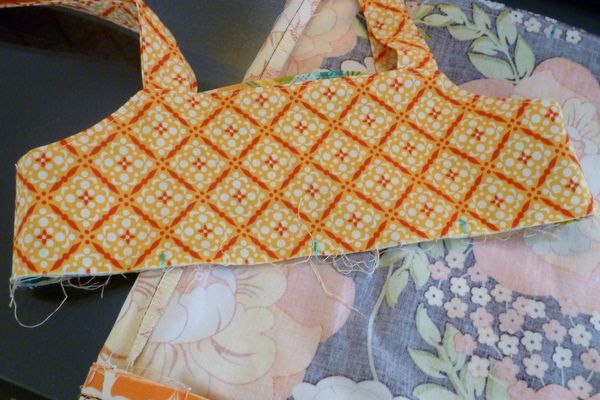
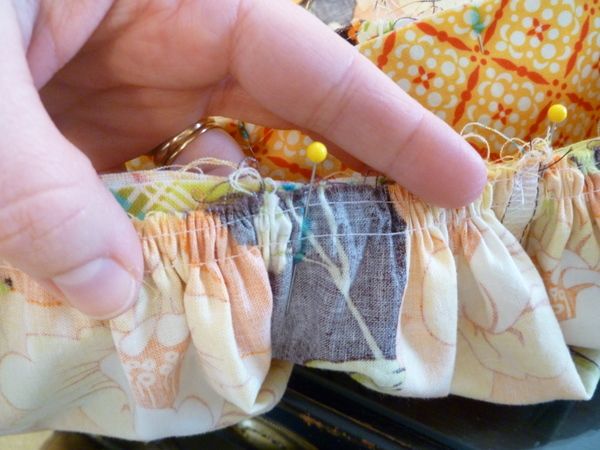
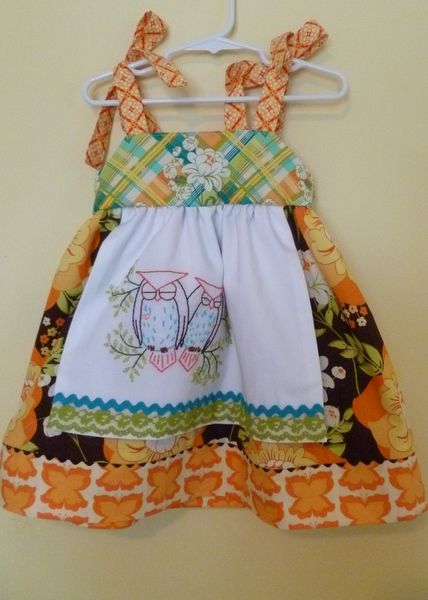
3. Next, gather up the skirt. I pull it all from one direction, securing the other end with knots. I usually just sew one basting stitch just inside the seam allowance, but in this case I had already attached the apron on this top and felt it was safer to use two basting lines in case just one would break.

Now you can match up those 8 marks and pin them together (skirt to bodice). Don't forget to have right-sides together.

Photobucket

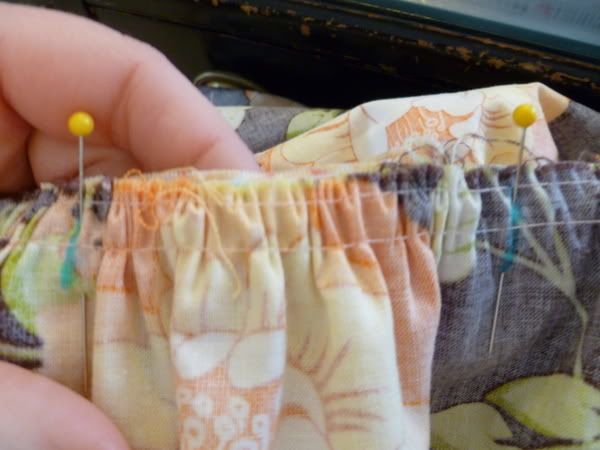
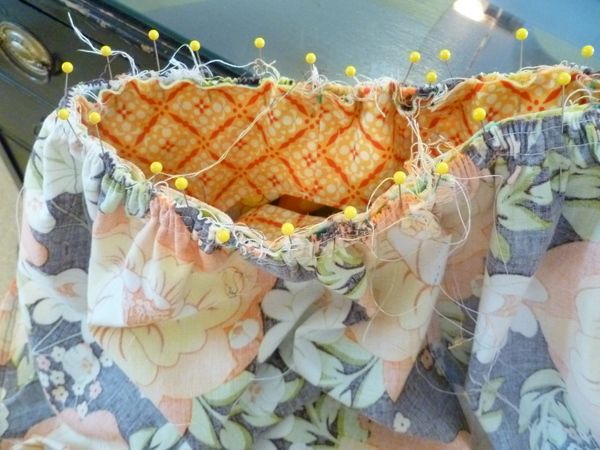
4. Now spread out the fabric between those pins to get it even.

Photobucket

5. Then add more pins in between to keep it from sliding around while you are sewing.

Photobucket

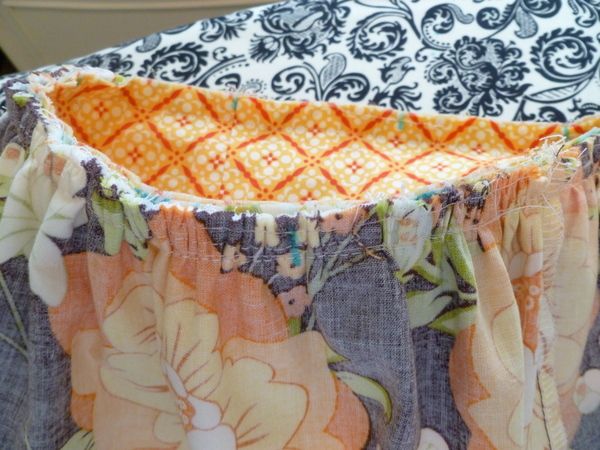
6. Here is where I quickly turn it right-side out to make sure the gathering looks good and that I didn't miss any obvious spots.

Photobucket

7. Now you are ready to sew your seam and serge it. It's a good idea to cut the basting lines in case you gathered it a little tighter than your bodice. You'll be able to feel what I mean if it's a problem, it will be obvious. Also make sure they aren't visible from the top side. If they are just use your seam ripper to remove them.

Photobucket

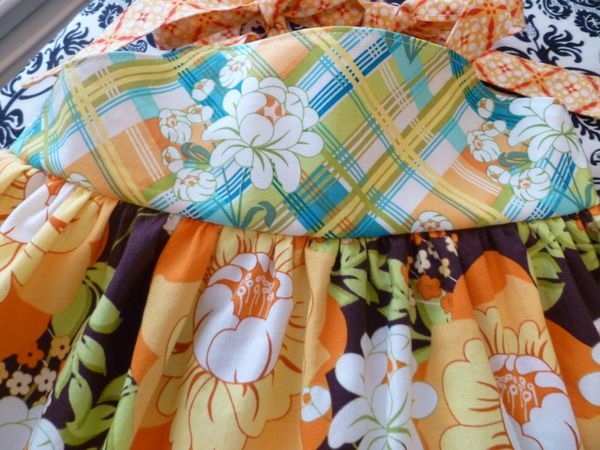
8. Now admire your work and finish it up with top-stitching or trim.

Photobucket

And try it on your sweet girl.

Photobucket

In the Shop {Paris Paws}


Photobucket

Photobucket

Photobucket

And if there is ever a basic little piece she's missing in her wardrobe, don't be afraid to ask. :)

Photobucket

Monday, March 7, 2011

A beautiful Sunday afternoon

Photobucket

We had a packed house on Sunday, 35+ people. It was a lot of fun. Thank you to everyone that could make it. We enjoyed talking with you after the show. It was so fun to see others excited about sewing, for their own little ones, or their grandchildren. Such a joy to be able to share our passion with each of you. And how surprised was I when a sweet young Mama of two little girls introduced herself and said "you probably don't remember, but you were my Bible study leader back in Jr. High." Wow! Hi Stephanie! That had to have been 15 years ago. So fun to see you again.

So, pinned up there on the bolts of fabric are just the samples I still have that don't fit my girls anymore (you can't see all of them in this pic). Weren't they just itty bitty yesterday? *sigh* We had a huge hanging rack to hold everything the girls modeled, at the other end of the building. It made me sad that I've even parted with the few samples that I have. So I'm thinking that going forward, I'll just need to buy more storage bins and keep every single piece going forward. I know I'll enjoy pulling everything out 25 years from now. And my girls will too.

I'll add more photos of the actual event, as I get them. This was the only one I had time to snap myself. And how gorgeous were those smocked flower girl and holiday dresses we got to see too? Annette's work is amazing! Hopefully she'll be starting an Etsy shop soon and I'll share it with you. A HUGE thank you to our moms and pint sized models. Everything came together without a hitch. And especially thank you to Lori and Becky of Eagle Creek Quilt Shop. I never would have met Amy 2 years ago if you hadn't asked me to do that first class. Thanks for having us back!

Next up...a quick tute on how Amy and I gather the skirt of a dress the easiest way we know how. And beleive me, we've tried it every which way possible. ;) We'll also be adding Paris Paws to the shop this week too.

Friday, March 4, 2011

How to add Ric Rac: Tip #2 {Tutorial}

Click here, for Tip #1, adding ric rac to a hem.

Now for tip #2, embedding ric rac in a seam. We do this all the time (thank you, Amy!) and have found this to be the easiest way. And guess what...there are no pins involved! Really. I mean it. Anybody want a peanut?

Photobucket

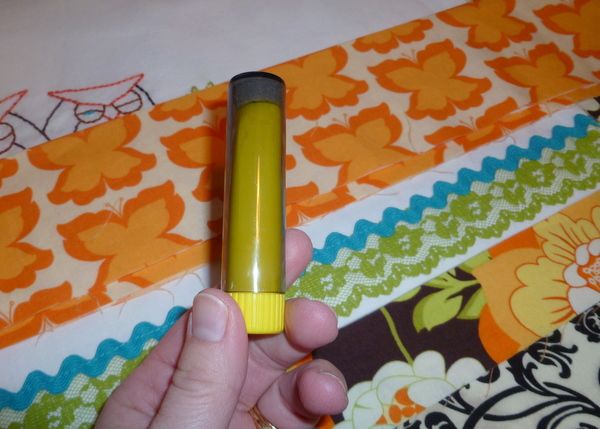
The first thing you need is this Clover chalk tool. It can be found with the quilting notions at a fabric store and even places like Eagle Creek Quilt Shop carry it. I could only find yellow at JoAnn, but ECQS has white so that is on my t0-get list now. In fact I should have mentioned this in my favorite tools post.

Photobucket

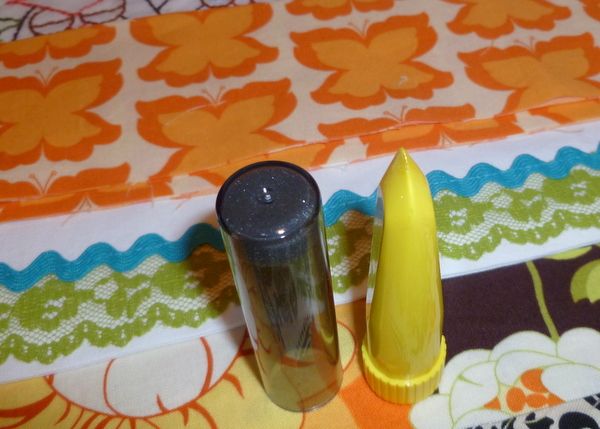
It's got a tiny little metal wheel inside and is filled with powered chalk. I recommend NOT opening it to see what's inside. Just trust me on this one. ;)

Photobucket

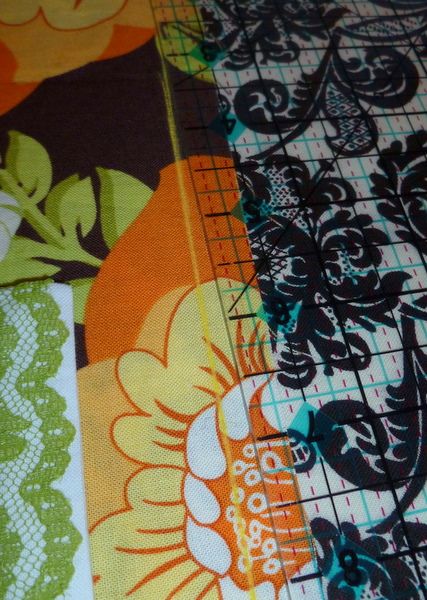
Now just lay your straight-edge ruler along the hem the same distance as your seam allowance (mine is 1/2") and run the chalking tool along the edge. Try to make your line thin by only going over it once. Mine got a little thick which made it a bit more trouble. But that's ok, it gave me the opportunity to show you how I solve that later. Silver lining? I think so.

Photobucket

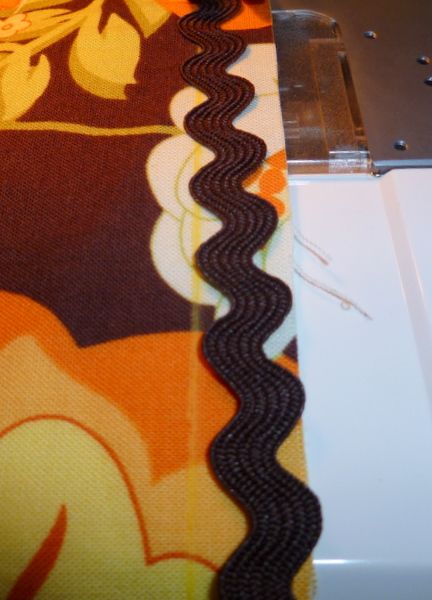
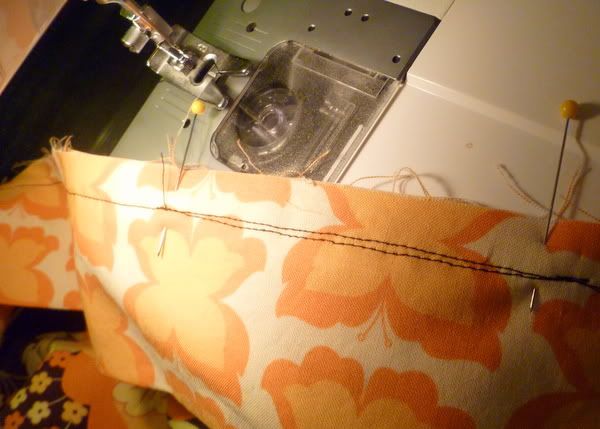
Now lay the fabric on your machine and line up the indents of the ric rac with the chalk line. That chalk line represents where you will sew the seam in a few minutes. Of course, make sure you've already trimmed the end and heat sealed it and have it laying the correct direction for starting so you don't see a "tail" above your seam. This next photo doesn't show it laying on top of the line, because then you wouldn't be able to see the line. Go ahead and sew the ric rac down so it stays on that line. I saw to the right of center so the stitches will be in the seam allowance later.

Photobucket

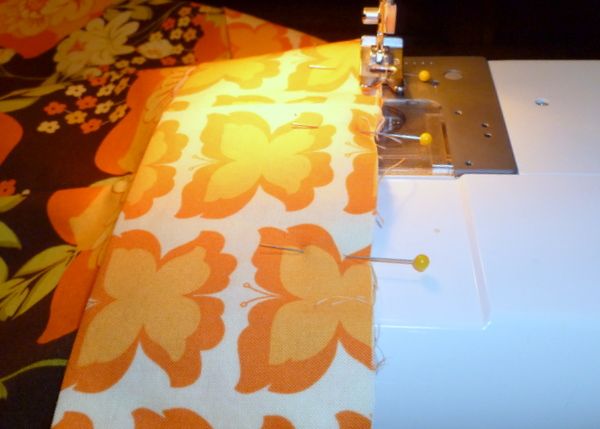
A few inches before the end, trim your ric rac so the ending tail is also caught in the seam. Heat seal that end before finishing your row of sewing. Now you are ready to lay your top piece of fabric on it. Ok, so there are pins involved in this step. But so far I've saved you from having to pin every single indent on the ric rac. That's how I used to do it and it was such a pain. Literally. Plus, it was difficult to sew over those pins without the fabric moving a tiny bit and that is all it takes for ric rac to go off mark.

Photobucket

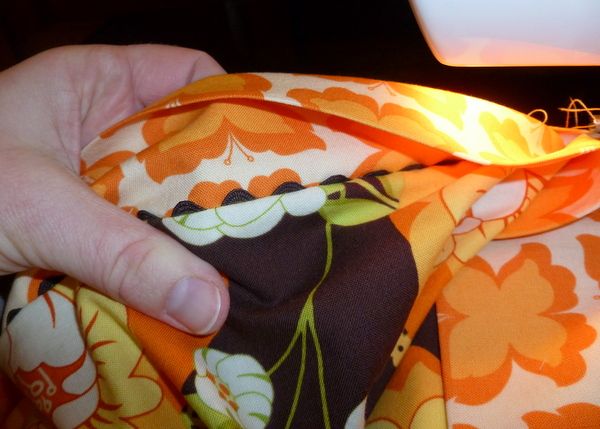
Now check your work to make sure it's looking good.

Photobucket

Yay! Looking good!

Ok, so it's not exactly perfect all the way around yet. That wider chalk line kind of did me in.

Photobucket

Just mark with a pin the beginning and ending of that trouble spot.

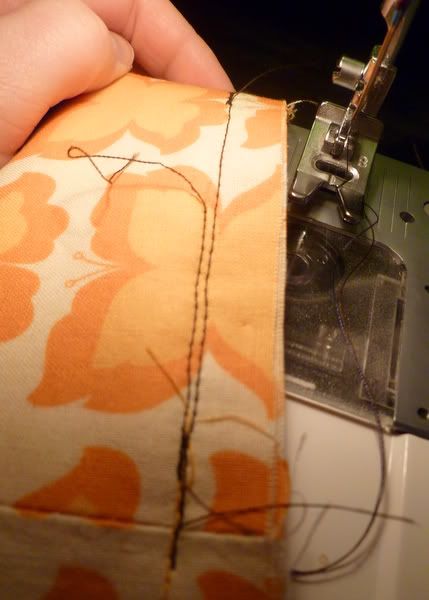
If the ric rac is hanging out too much, just sew the distance you think it will take to correct it, on the outside of the seam. Meaning...make the seam a little wider.

Photobucket

If the ric rac is not peeking out enough, just sew a new seam inside that seam allowance and remove the bad portion of your original seam. Don't forget to anchor your stitches at the stop and start ends again.

Photobucket

Photobucket

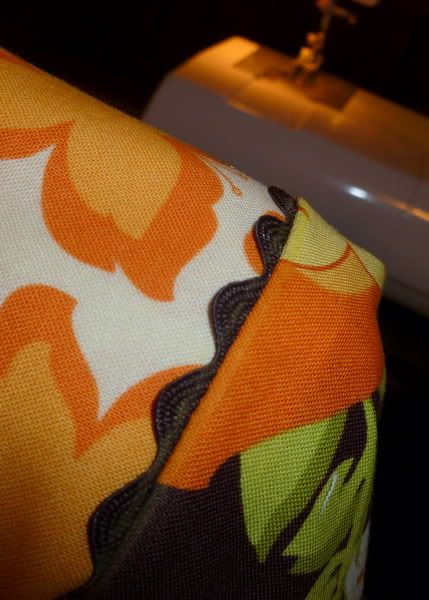
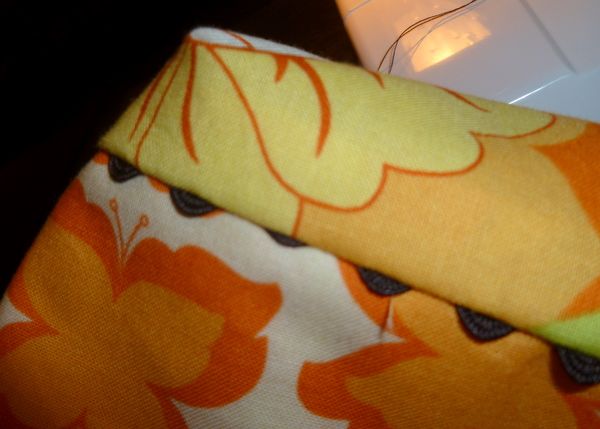
Then flip it open and use a dry, clean washcloth to rub out the chalk lines and press it open. Double check that everything looks good and finish it up.

Voila!

Photobucket

Photobucket

Now go out and buy yourself a fancy new chalk tool!

p.s. Another way to do it if you are sewing a piece where you can make up your own seam allowance, is to just baste stitch the ric rac with the edge of it along the cut edge of the fabric. Then just make your seam allowance the distance needed. For jumbo ric rac, that would be 3/8". And actually, I could have done that for this dress, just didn't think about it before I cut the butterfly band. It would have messed up the proportion I already had figured out, to use a 3/8" instead of a 1/2" seam allowance. We are always learning, aren't we?