Ric rac. I just love to hear the words ric rac. It's so fun to say out-loud or just in my head. It's one of my favorite embellishments to use when designing kids clothes. I probably use it too much actually. But I'd like to think there is always room for more ric rac in everyday life. I often look at things and think "wouldn't that be even cuter with some ric rac?"
You might think this too simple, but I've been wanting to write up a tutorial on how I sandwich ric rac quick and easy and just haven't needed to do it for a while. So, I'm starting with just showing you how I add it to a hem. So humor me, someone out there may appreciate this and it may just save them the extra step of figuring it out themselves.
First, choose the size of ric rac you need for your project. I tend to use jumbo for edging skirts and dresses and medium on something smaller like a sleeve or neck opening. You can find ric rac at JoAnn fabrics, usually on the backside of their thread display. But recently Amy and I discovered that Wal-Mart also carries some of the basic colors and sizes at the same price you'd pay at JoAnn, if you had a 40% off coupon. Have you noticed that ric rac at JoAnn NEVER goes on sale! If it did, I think I'd buy out the entire display, so maybe that's a good thing. You can also buy every color and size imaginable from The Ribbon Retreat.
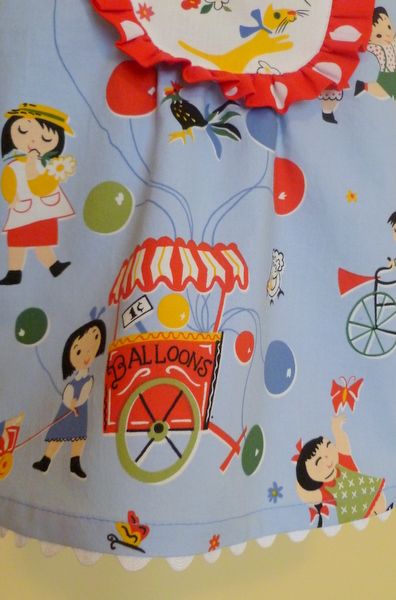
Yesterday I added ric rac to the bottom of a top I made.
And here is how I did it.
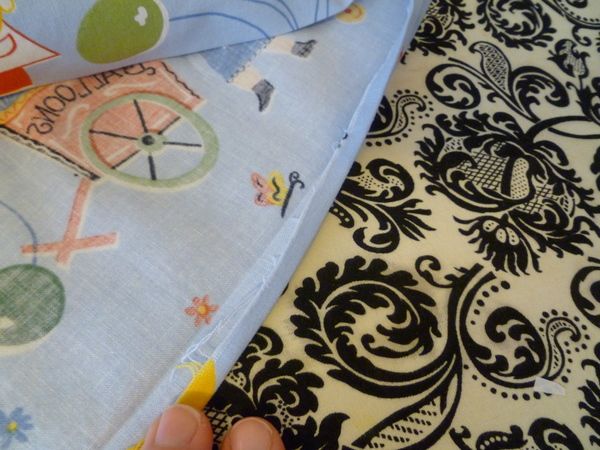
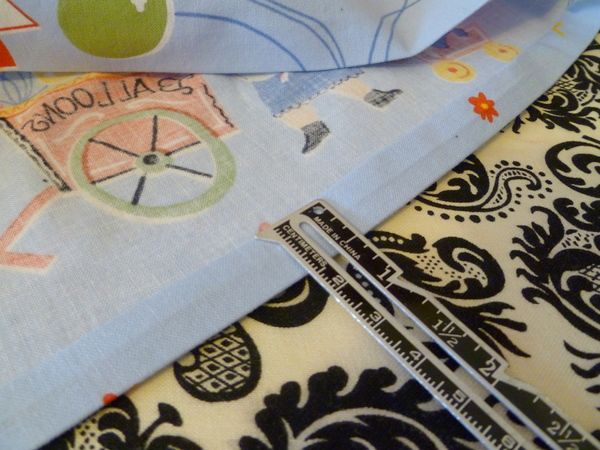
First I ironed the hem up by 3/4". Then opened that and ironed up the edge by 1/4" so the final hem will be 1/2".
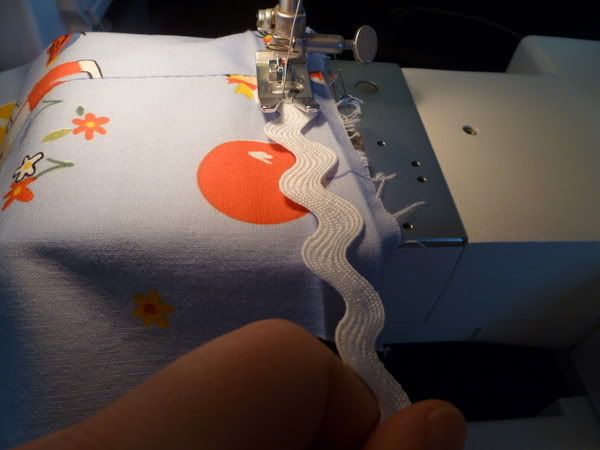
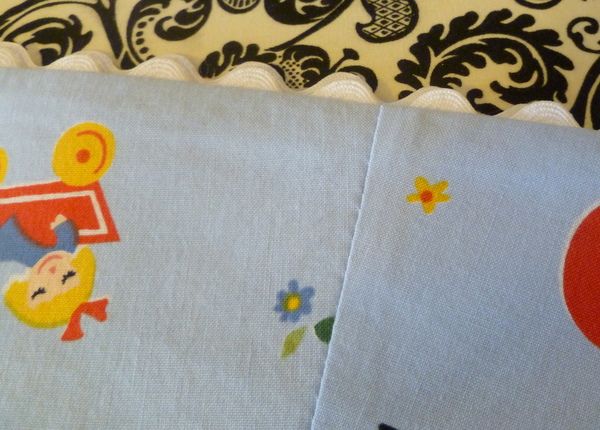
Now open up those creases and lay the ric rac down on the first crease you ironed. The 3/4" line. Lay it down so that the crease site just above each indentation.
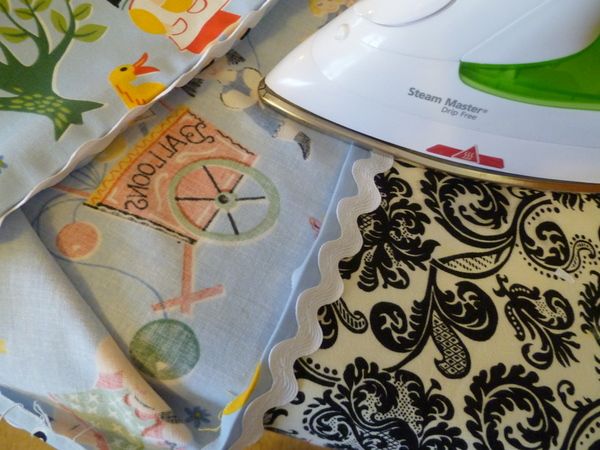
Remember to heat seal the beginning and end of the ric rac. Once you've sewn all the way around, re-iron those creases.
And you are ready to stitch your hem. You shouldn't need any pins to hold it flat. With sharp creases and the right amount of pull/pressure, you should be able to just zip around the hem. You'll stitch it with the underside up of course so you can see where to sew.
Here's a sneak peek at my finished top.


16 comments:
SWOON! You know that AH fabric is one of my faves since I first spotted it last April! Reminds me so much of the out of print fab from Grace's 2nd birthday - I still dream of stumbling upon bolts of that fabric :) And did you know I'm doing a little twist on Atlantic City Boardwalk for the little pumpkin's 4th birthday?! Love that top!
And I love the tute too! ;)
Happy New Year!
I am always looking for help and wouldn't have known how to do it. Thanks for teaching us even the basic stuff!
I've sewn for a long time, but I've never thought of adding ric-rac to a hem this way. I love the way you do it! You've not only taught some of the less experienced sewers a new trick, but you've taught this experienced sewer something new too!
Oh I'm so glad you appreciate this one. I was afraid everyone was going to think I was getting silly and stop following my blog. LOL The next one for ric rac will be even better. :)
Jessica, how perfect! I had no idea.
I love seeing how others sew things! Love the sneak peak! Adorable fabric and pattern (reminds me of an Oliver + s pattern style). Guess we know what Grace will be wearing for her bday party....how perfect!
Thank you for this! I too love ric rac, but never use it b/c when I try it is always uneven and looks 'homemade'! I will definitely try it again using your method! :)
That top is absolutely adorable!
Oh Thanks sooo much for this! I have tried ric rac in the past and just get frustrated! I will save this for the next time I use it!;) Happy New Year!
Just wanted to let you know that I used this technique on some burpies I made today! I hope you don't mind that I sent my readers in your direction! - Suzanne
http://justanotherhangup.blogspot.com/
Thank you! I recently started sewing again (I haven't since my mom showed me at about 10 years of age, so basically, I just started sewing...). And I'm still trying to figure EVERYTHING out. I love ric rac, but I get a little blurry-eyed when trying to sew with it, so this is helpful. I have no idea what project I'll put it on yet (I have yet to be brave and sew clothing!), but I will be coming back to this tutorial once I get brave!
I'm totally new to sewing, so this may be a dumb question...but, can you see the ric rac from the back? Like, it's not folded into the seam and only sticking out the bottom right?
Thanks!
Rachel, yes that is totally correct. You can still see the ric rac on the underside, it is not hidden. Thanks for asking! :)
Do you seal the ric rac with heat?
Do you seal your ric rac with heat?
Yep, I do seal the ric rac with heat. :) Just like you would do for ribbon ends. Works great!
The past couple days I stared at the next step in this pattern, to sew my rick rack to a pressed edge and I just couldn't make sense of it. I know about clipping curves and I read the step over-and-over checking my trim on my edge... then I did a bit of searching and found your post. Thank you so much you completely demystified this step for me, I'm a very visual learner and once I read this with your photos and came back to read my pattern it ALL made sense. Thank you, thank you!
Post a Comment