When you have a large circumference to gather up it can become unwieldy and difficult to get it spread out evenly all the way around. Here is what Amy and I do:
1. Start by marking (with your water-soluble marking pen) half-way points on your bodice, between the side seams, until you have 8 marks all the way around.

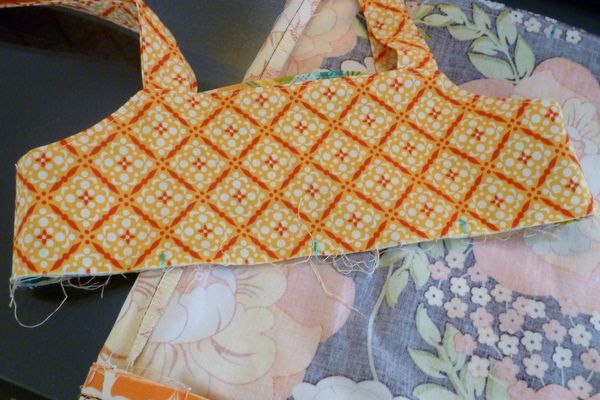
2. Do the same with the top edge of the skirt. I used to do this with large pins, but inevitably they would fall out in the process.
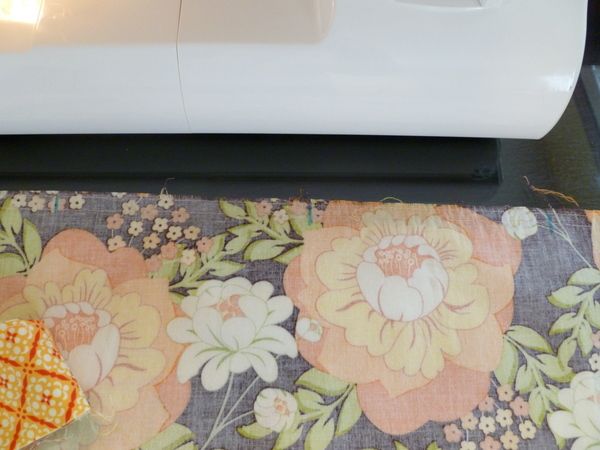
3. Next, gather up the skirt. I pull it all from one direction, securing the other end with knots. I usually just sew one basting stitch just inside the seam allowance, but in this case I had already attached the apron on this top and felt it was safer to use two basting lines in case just one would break.
Now you can match up those 8 marks and pin them together (skirt to bodice). Don't forget to have right-sides together.
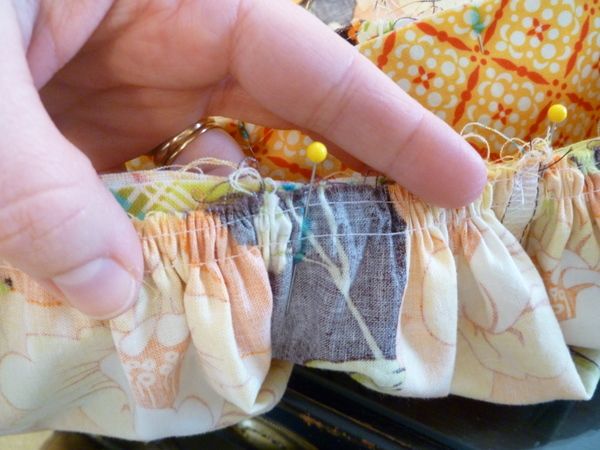
4. Now spread out the fabric between those pins to get it even.
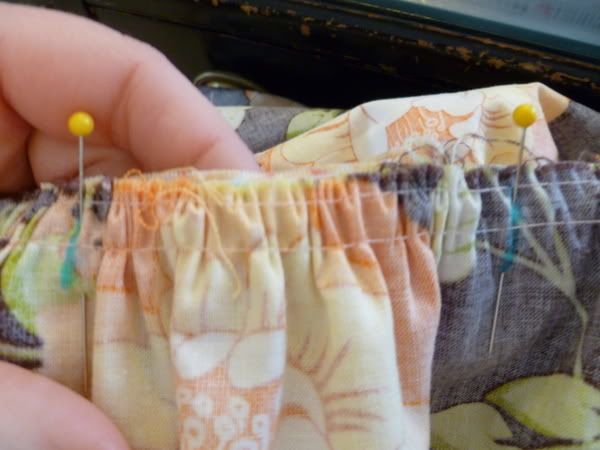
5. Then add more pins in between to keep it from sliding around while you are sewing.
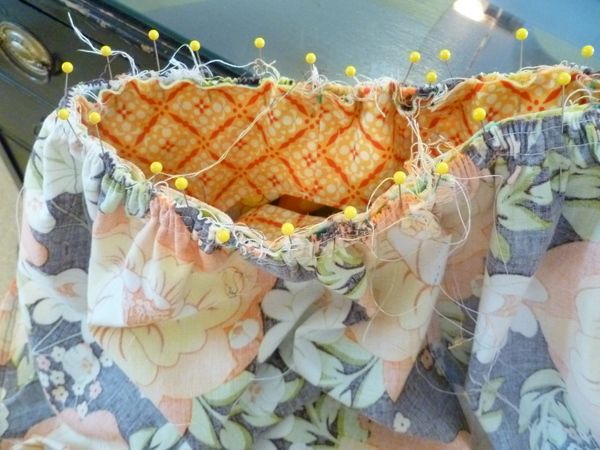
6. Here is where I quickly turn it right-side out to make sure the gathering looks good and that I didn't miss any obvious spots.
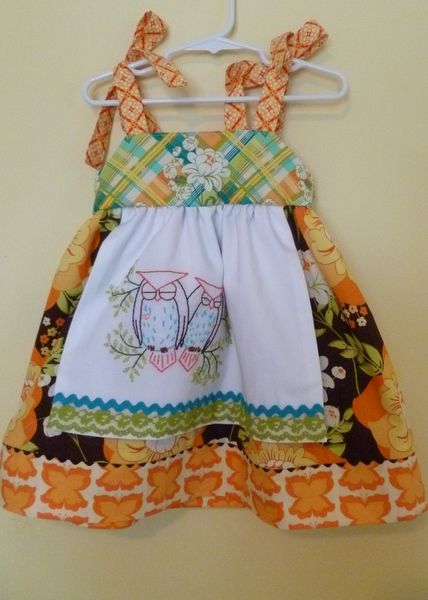
7. Now you are ready to sew your seam and serge it. It's a good idea to cut the basting lines in case you gathered it a little tighter than your bodice. You'll be able to feel what I mean if it's a problem, it will be obvious. Also make sure they aren't visible from the top side. If they are just use your seam ripper to remove them.
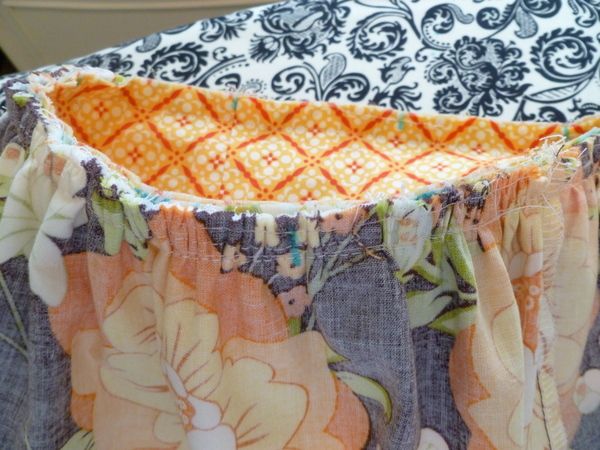
8. Now admire your work and finish it up with top-stitching or trim.
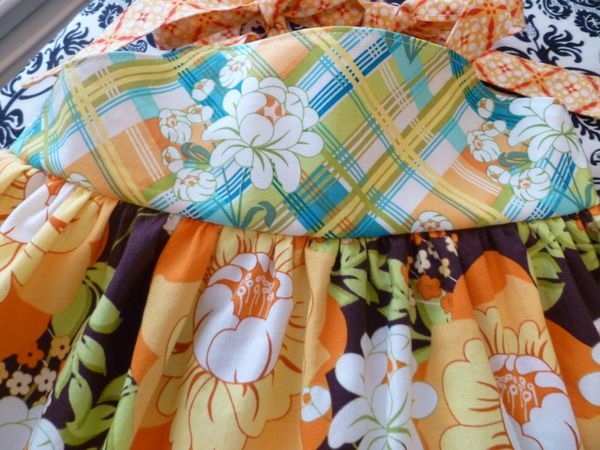
And try it on your sweet girl.

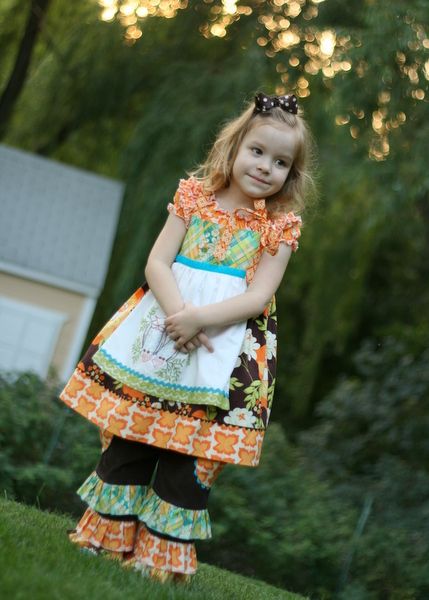
Thanks for the tips! I am loving, loving, loving this outfit!
ReplyDeleteStephany, I've done it that way too and I can tell you, it is a LOT more difficult. My pins always end up falling out at some point (maybe safety pins would help that?). If you pre-mark all 8 spots on both pieces, you shouldn't have a problem matching them up once you pull the gathers and it looks even to the eye.
ReplyDeleteEither way, you still need to work the fabric all the way around. And not having those pins in the way makes the process go much more quickly. And gathering is just a time consuming process no matter what. Perfect for sitting in front of the TV. ;)
Hope that helps!
This comment has been removed by the author.
ReplyDeleteI prefer the ruffle foot set on 6! Multiply the finished length you need (same as bottom of whatever you are attaching it to) X 1.528. to figure out how long to cut the strip being ruffled. Add an inch (or your seam allowance) for sewing the sides of the strip together. It might take two pieces to get the full length. If it's still a little too big after ruffling, it's EASY to pin and put an extra fold here and there. What you don't want is the ruffled piece shorter than the piece you are sewing it too or else the main piece gets folded or cinched and looks bad on the front. If it ends up too short, just cut a thread here and there and open up a pleat until the length matches. They will NOT all come undone! Just the one(s) you cut. Yay!
ReplyDeleteOnce ruffled, I line up side seams or back seam and pin. Pin the opposite side. Next, I pin the center and then the centers of the 4 quarters and eighths until all pinned. I find it so much easier than pulling threads!! And it looks neat and uniform on the front.
If you want more folds to look like really full gathers, use the 12 setting and I would "guess" multiply by 3.076. Note: I haven't tried it!!
This comment has been removed by a blog administrator.
ReplyDeleteI prefer the ruffle foot set on 6! Multiply the finished length you need (same as bottom of whatever you are attaching it to) X 1.528. to figure out how long to cut the strip being ruffled. Add an inch (or your seam allowance) for sewing the sides of the strip together. It might take two pieces to get the full length. If it's still a little too big after ruffling, it's EASY to pin and put an extra fold here and there. What you don't want is the ruffled piece shorter than the piece you are sewing it too or else the main piece gets folded or cinched and looks bad on the front. If it ends up too short, just cut a thread here and there and open up a pleat until the length matches. They will NOT all come undone! Just the one(s) you cut. Yay!
ReplyDeleteOnce ruffled, I line up side seams or back seam and pin. Pin the opposite side. Next, I pin the center and then the centers of the 4 quarters and eighths until all pinned. I find it so much easier than pulling threads!! And it looks neat and uniform on the front.
If you want more folds to look like really full gathers, use the 12 setting and I would "guess" multiply by 3.076. Note: I haven't tried it!!
I realize this is an old post but I was wondering if you remember where you got that brown fabric with the orange flowers. Or what it was called. I love it so much! I also love the fabric you used for the bodice but the brown just pulls at my heart. I'm pretty sure my 3yr old would feel the same way about it. :-)
ReplyDeleteLee, this fabric is by Sandi Henderson for Michael Miller. The line is called "Meadowsweet". It's mostly sold out but you may still find some on Etsy or Ebay.
ReplyDeleteOk thanks for getting back to me and letting me know. I tried ebay and etsy and neither has it right now. I guess I'm out of luck at least for the time being. Hopefully they will eventually bring it back.
ReplyDelete